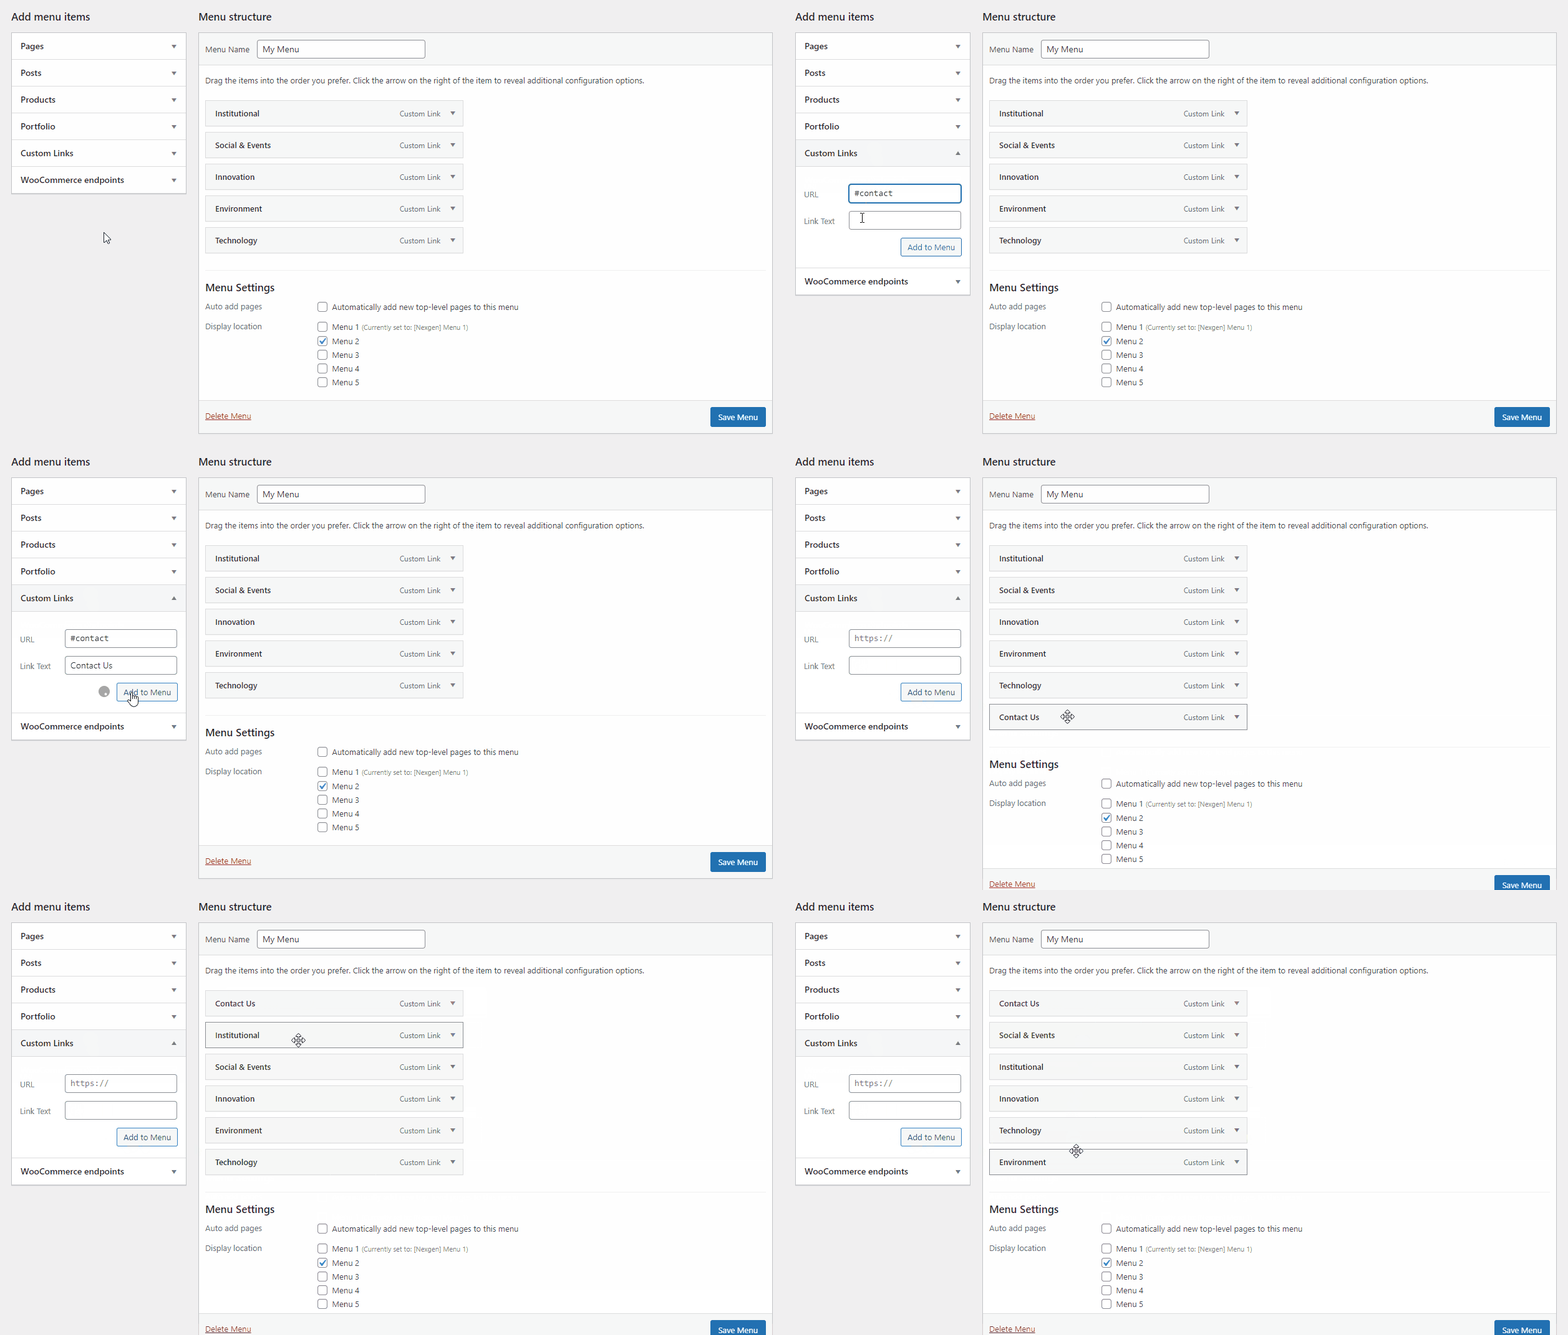
WordPress makes it really easy to add menus and sub-menus. You can add links to your most important pages, categories or topics, blog posts, and even custom links such as your social media profile.
Nexgen has a several options, so you can create different menus that can be displayed in different places.
Creating a Menu
To create a navigation menu, you need to visit the Appearance » Menus page in your WordPress admin dashboard.
First, you need to provide a name for your menu, like “My Menu” and then click the “Create Menu” button. This will expand the menu area.
Next, you can choose the pages you want to add to the menu. You can either automatically add all new top-level pages, or you can select specific pages from the left column.
First, click the “View All” tab to see all your site’s pages. After that click the box next to each of the pages you want to add to your menu, and then click on the “Add to Menu” button.
Once your pages have been added, you can move them around by dragging and dropping them
